If your external API requires a Bearer token for authentication, Salesforce’s External Credentials feature allows you to securely store and manage the token. This token can then be passed automatically in API requests through Named Credentials, enabling seamless and secure integration.
STEP 1: Create an External Credentials
Navigate to:
Salesforce Setup → Security → Named Credentials
- Select the External Credentials tab and click New.
- Provide a name for the credential and set the Authentication Protocol to Custom.
- Save the credential.

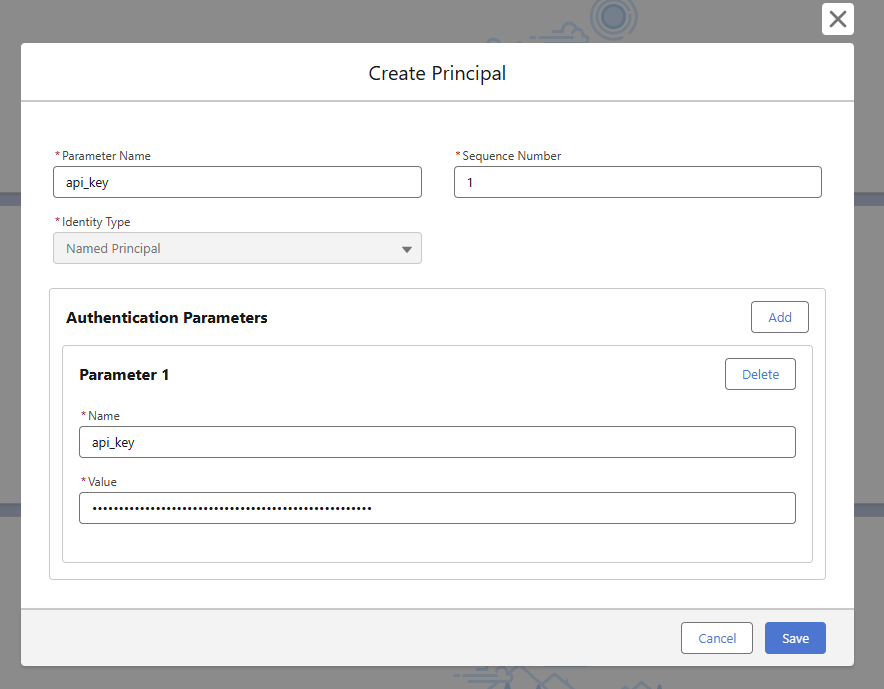
Add a Principal (API Key Storage)
- In the Principals section, click New to create a principal and securely store your API key.
- Refer to the attached screenshot for guidance.
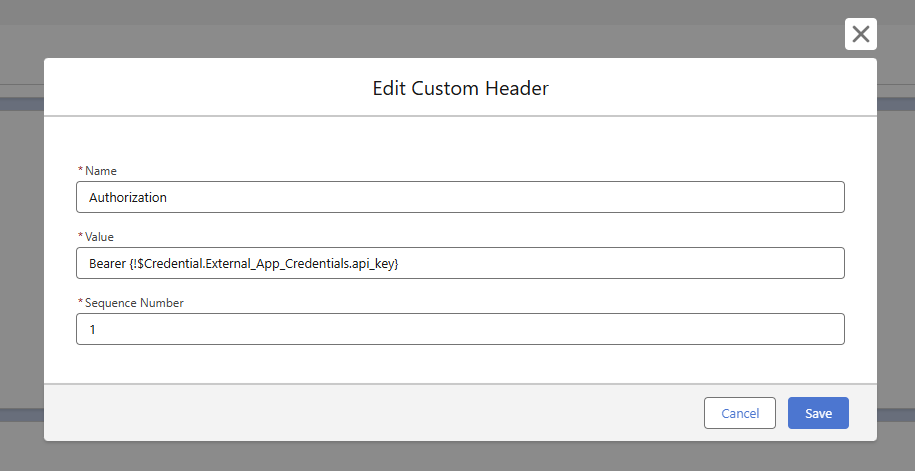
Add a Custom Header
- After creating the principal, scroll to the Headers section and add a new header (e.g.,
Authorization: Bearer {!$Credential.External_App_Credentials.api_key}) to include your Bearer token in the API request.
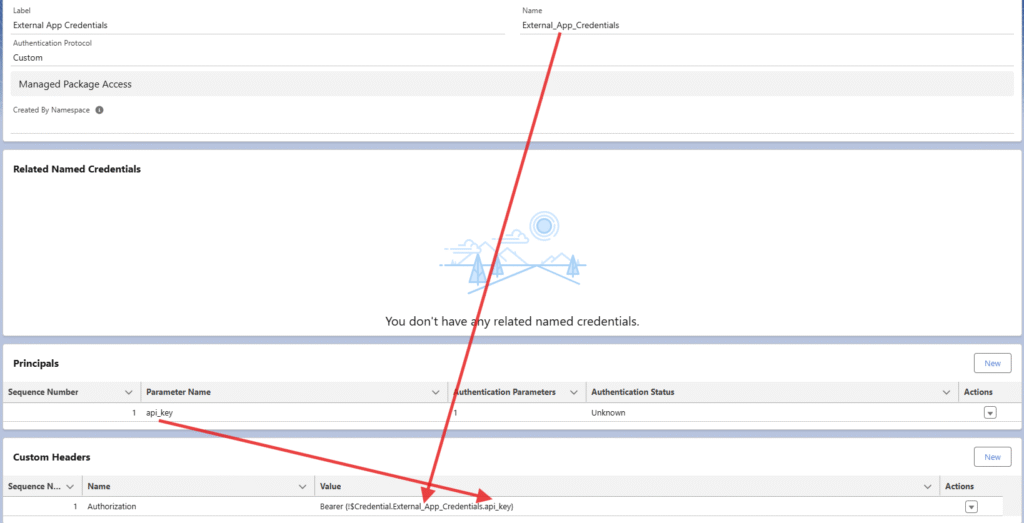
Important: Ensure the user has access to the external credential’s principal via a permission set or profile, so they are authorized to make callouts using this Named Credential.
This is how it will looks like
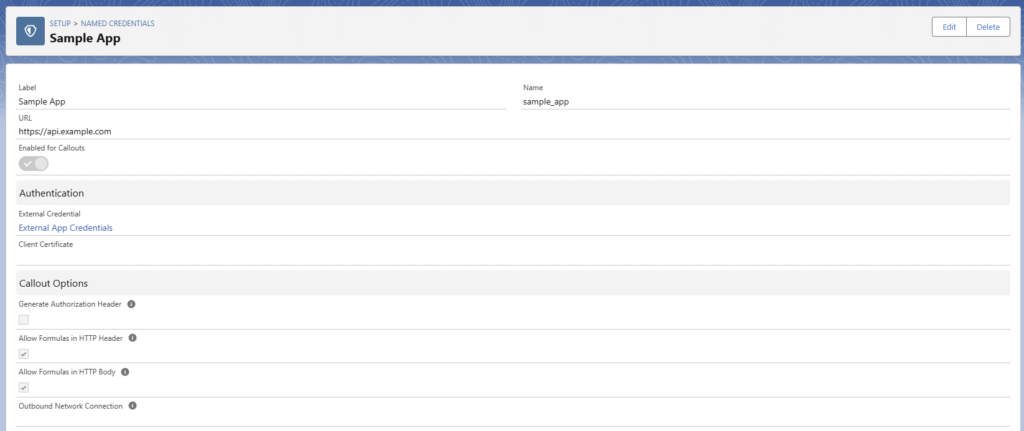
STEP 2: Create a Named Credentials
Go to:
Salesforce Setup → Security → Named Credentials
- Provide the target URL and any other required details, then save.
- Click New and select Named Credential.
- Choose the External Credential you created in Step 1.
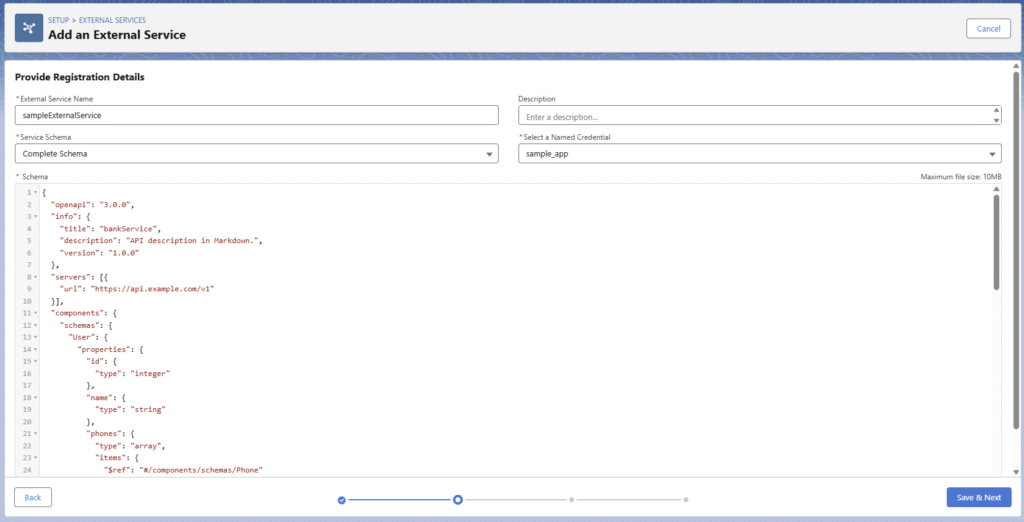
STEP 3: Create an External Service
Now that your Named Credential is set up:
- Go to Setup → External Services.
- Create a new External Service using your OpenAPI specification (Swagger schema).
- Once registered, the available actions will be exposed in Flow Builder for use in your automation.